Last year, I took part of my first swap. Ever. It was scary and intimidating as I do not qualify myself as a great sewist when it comes to bags, purses, pillows, etc. Although I do love to sew me a good pillow (I am obsessed). I am still always much more amazed at others work and their ability… yet many took years to get there, too. The swap I joined was the Liberty of London Tana Lawn Swap Round 1 and in the end of the experience was great, I posted about more of my feelings here.
Earlier this year, I decided to join again and go for Round 2 of the Liberty of London Tana Lawn Swap. I had been stuck on what to make for my secret partner because I was limited to the Tana Lawn lines of fabric I had on hand as money was tight at the immediate moment and Liberty fabric isn’t the cheapest. :o( Nobody likes to disappoint, but I definitely stress about it more than I expect others to ever stress about anything they make me. As a matter of fact, I would hope they didn’t stress at all. In the end, along with a few other things, I decided to attempt my first paper piece block. The paper piece block I decided to give a try was the Free Feather Block Pattern + Tutorial by Blossom Heart Quilts. I thought this would be a great block to be able to use the small pieces of Liberty fabric I have as well as display an array of them in the leaf.
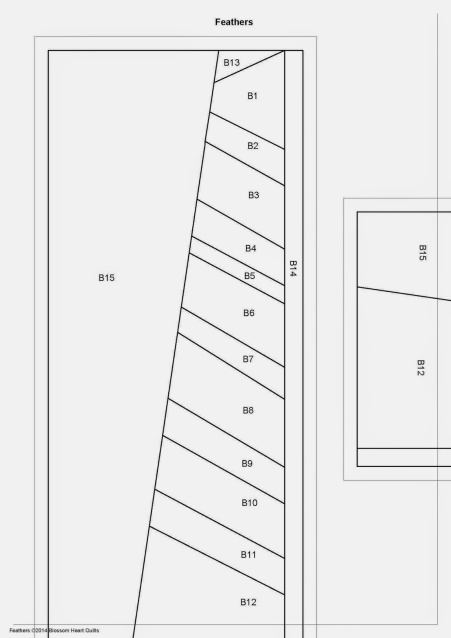
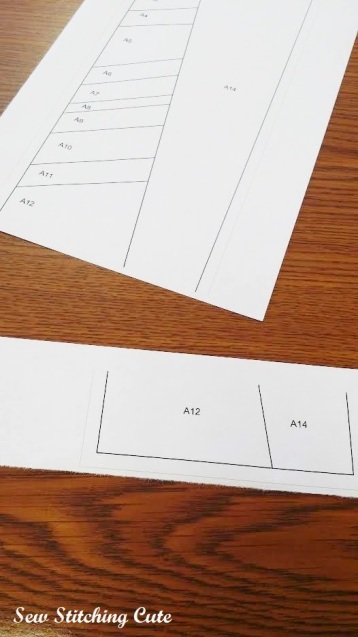
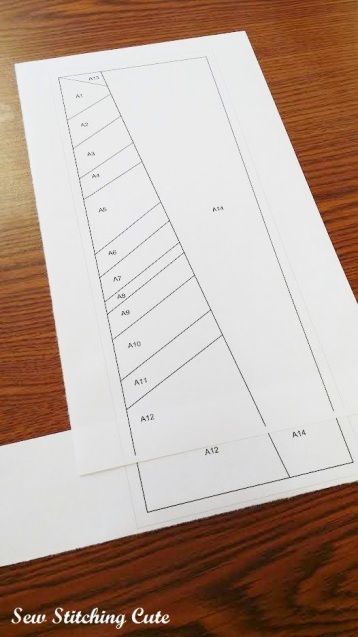
Do you see the error I made? If not, let me graciously point it out to you. The original paper piece is split to them be cut and taped together to make the complete block.
Well, once I got done with the first portion of it I thought I was on a roll, and I was feeling quite proud of myself. I even decided I would finish the rest of the next day as it was getting late and I still needed to take care of a few other things before going to bed. So here it is, the following day at work and going to make the blog post for my WIP of the week. While grabbing the link for Blossom Hearts Quilts on the Feather Paper Piece + Tutorial, skimming through it, I instantly realized the mistake I had made.
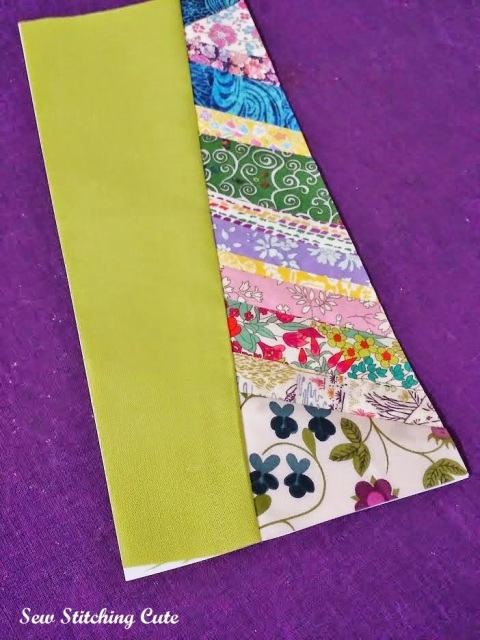
When I had originally cut the pattern out from the paper, I left the pieces on the page separated. I thought I would just be sewing those on after I put the fabric on them. Nope… they were to get attached from the beginning… UGH! I resigned to the fact that I could still make it work… and I intend to. I will be finishing this tonight and hopefully my improptu doesn’t ruin this entirely. I mean, I did use Liberty fabric on it!!! I will have to add the fabric to the bottom section and then just sew it together from there. It will have my own little twist on it I guess!
If only I had not been so eager to get moving on it and read through the quick picture tutorial and I would not have this problem. I am REALLY hoping this doesn’t make me have to re-do everything I already have done. Not because of the time, but because of the fabric. This would definitely be a lesson to practice on scrap fabric before using the fancy fabric! Go me! This is what my paper piece should have looked like. Oh well.
So lesson learned here, my friends. Be sure to read directions and don’t get too excited when trying something for the first time thinking you have it all covered!!! hahaha It won’t always work out! Do you have any bloopers you got overzealous on?
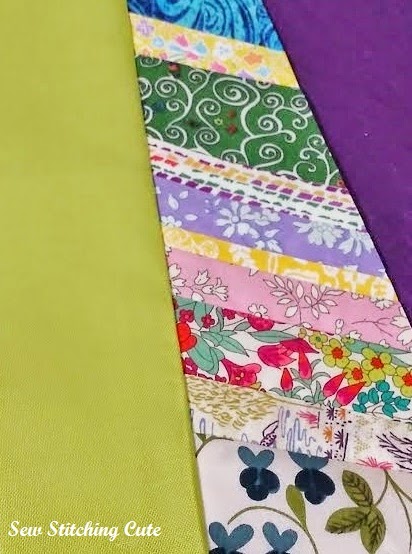
I still think it is pretty with all of those Tana Lawn fabrics…
I am linking up and showing off at Let’s Bee Social w/ Sew Fresh Quilts and WIP Wednesday w/ Freshly Pieced, be sure to show your stuff off, too!

Ack! Don't worry, we've all been there with pattern and pattern pieces before. I think it looks great, and that adding your own special twist will help make it even MORE special for your swap partner.
LikeLike
I agree to not stress about it; I think it is all going to work out just fine. Maybe change the fabrics at the bottom to give it the twist and personalized touch?
LikeLike
I like the fabrics a lot, and it's definitely just a glitch, not a major annoying screw up – it will still be really neat when you're done.
LikeLike